Locating Your Page Under Your School’s Menu
By default, when you create a new page, it will be added at the “top level” (i.e., not underneath one of the schools). You will want to move each of your pages under your school’s menu.
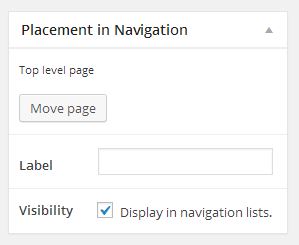
As you are adding your new page, you will see a dialog box at the right side of the page entitled “Placement in Navigation”
There are two things you need to do with each new page: (1) give it a Label (probably the same thing as the page title), and (2) place it — to put it in its proper place, hit the Move Page button
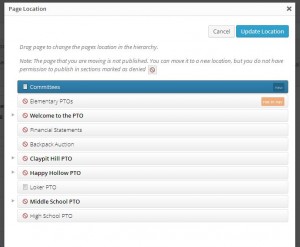
Below you can see the dialog you get after hitting Move Page — here I am trying to place a page which I have given the label “Committees” to. It starts out at the top level.
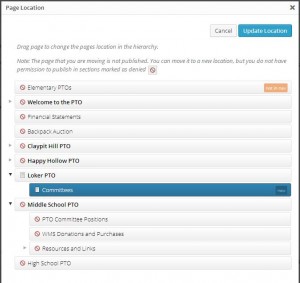
but I can move it by dragging the page — here I’ve dragged it under Loker PTO, and then pushed it to the right (you’ll want to experiment with dragging it around and see how the placement works – but don’t worry too much because I can always move it for you)

Once it’s placed, hit the Update Location button. This will bring you back to your post, which you can then Publish by hitting the Publish button.


